 on the LearnCenter Design
menu to expand it.
on the LearnCenter Design
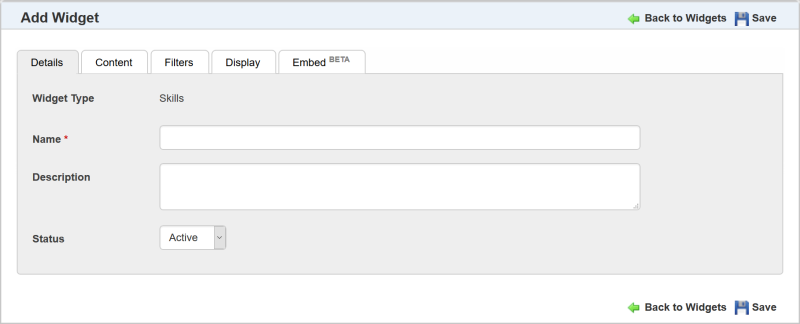
menu to expand it.The Skills Widget provides Users with access to their Skills inventory so that they can quickly identify their current and expiring Skills, as well as those that have been newly assigned. Users can also view details related to all of their Skills, including the tasks required to complete an assigned Skill, and the opportunities for applying earned and in-process Skills. To add a custom Skills Widget, do the following. On the Control Panel:
on the LearnCenter Design
menu to expand it.
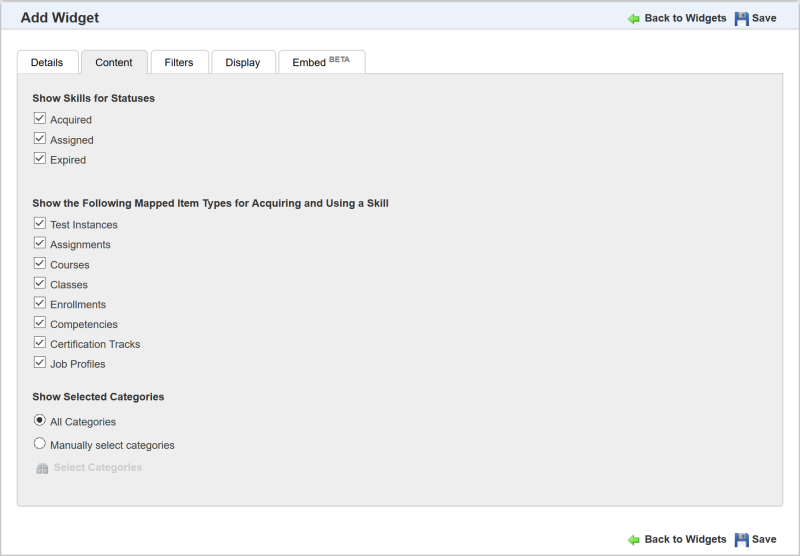
Determine what displays in the Widget’s mini dashboard by selecting any of the following for Show Skills for Statuses:
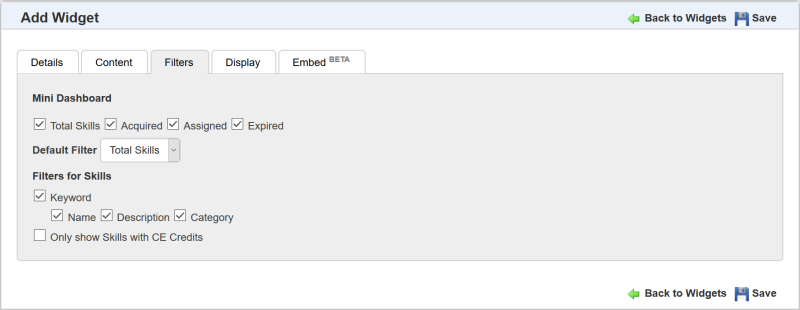
Use the Filters tab to indicate what filters should be made available to assist Users in sorting the information that appears on the Widget.
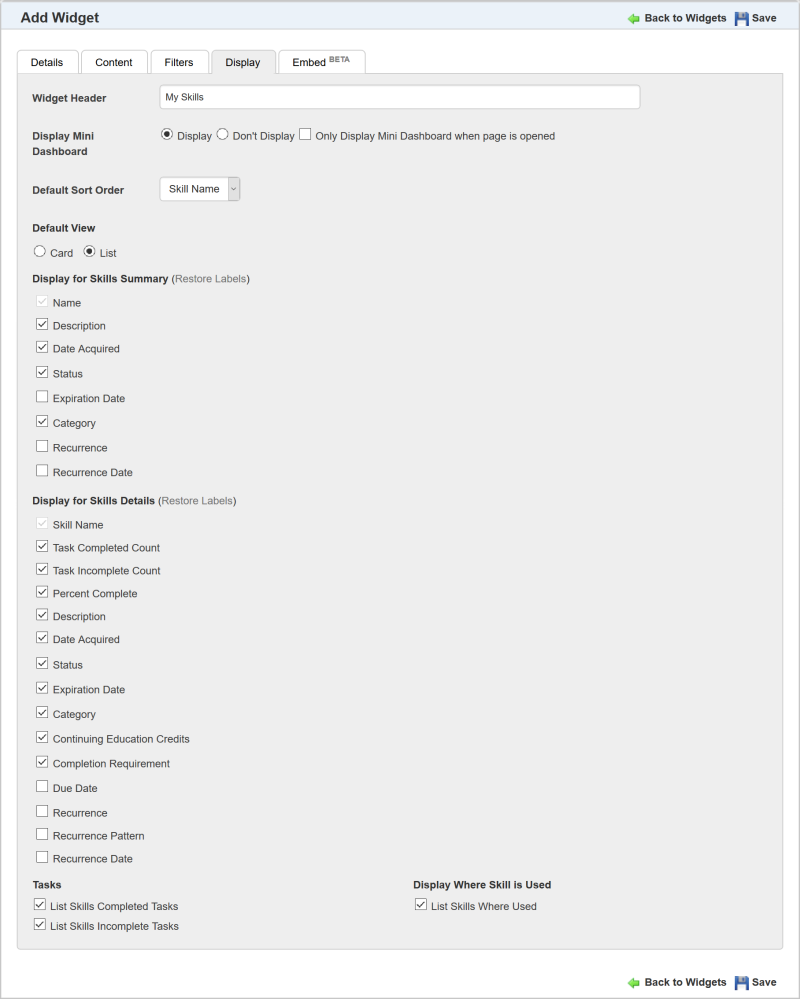
Use the Display tab to customize the field labels and other aspects of the Widget details page.
Select the Only Display Mini Dashboard when page is opened check box to only display the Mini Dashboard when the Widget page opens. You may prefer to show only the mini dashboard if you have a lot of content on the page where the Widget resides. Selecting any dashboard metric expands the Widget to display the appropriate results. Selecting the metric again collapses the Widget and displays only the mini dashboard.
or
Clear the check box to display the entire Widget when the page opens. (Default)
 . A field displays and you can type something else for the label. If you want to return the label to the original default text, click Restore Label. Click the check icon to accept the change, or click the x icon to start over. You cannot change the label for Name or Desicription.. A field displays and you can type something else for the label. If you want to return the label to the original default text, click Restore Label. Click the check icon to accept the change, or click the x icon to start over. You cannot change the label for Skill Name.
The following illustrations are examples of how this Widget displays to Users based on what the Admin selected in the Widget setup.
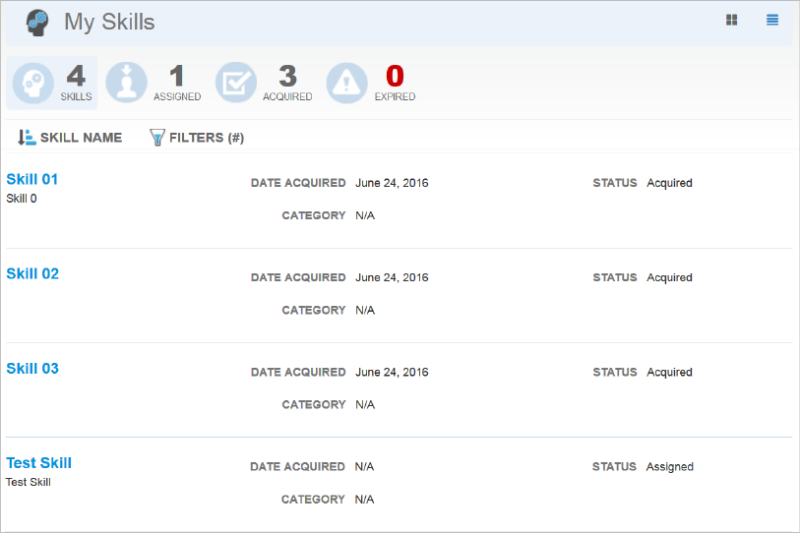
A mini dashboard at the top summarizes a User’s Skills inventory. This dashboard includes:
You can customize which of these items displays on the Widget during the Widget setup.

|
The Acquired and Expired dates on the Widget are based on the User's time zone, and not the time zone of the server. For example, if a User completed activities required for a Skill and acquired the Skill on October 21st according to the User's time zone, but the time of completion on the server was October 22nd, the User will still see an Acquired date of October 21st. Note that Admins and others viewing this information when not translated to a time zone, such as when viewed from the Control Panel, may see the server date of October 22. |
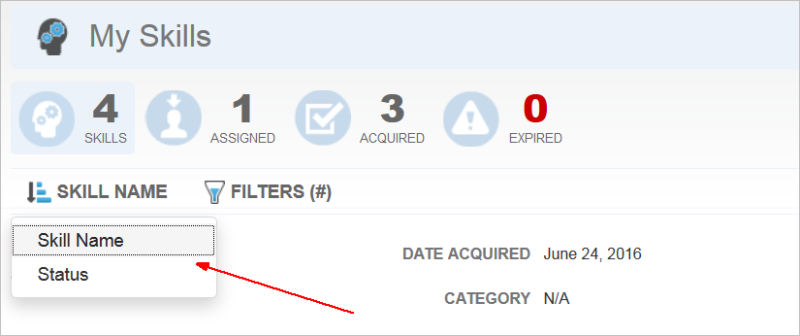
Beneath the dashboard there is a summary list of all Skills, and Users can sort the results either by Skill Name or Status.
Users can also use Filters to further refine the result list. The sorts and filters are customizable during the Widget setup.
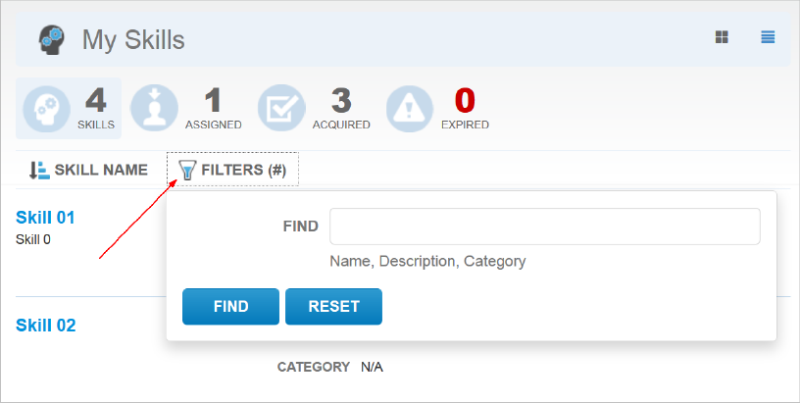
In the example above, the Admin set up the filter so that Users can search by Name, Description, or Category keywords.
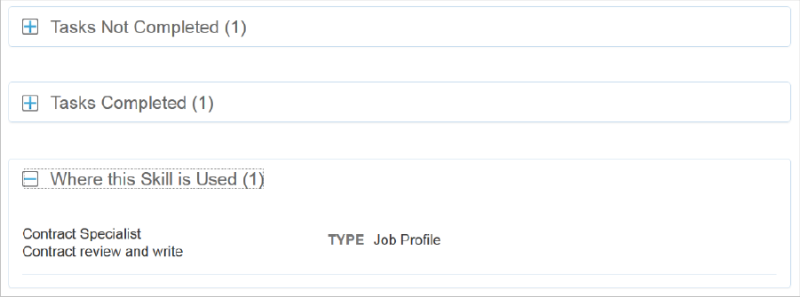
Users can click each Skill to view further details. Clicking a Skill Name opens another window for viewing the Skill details.
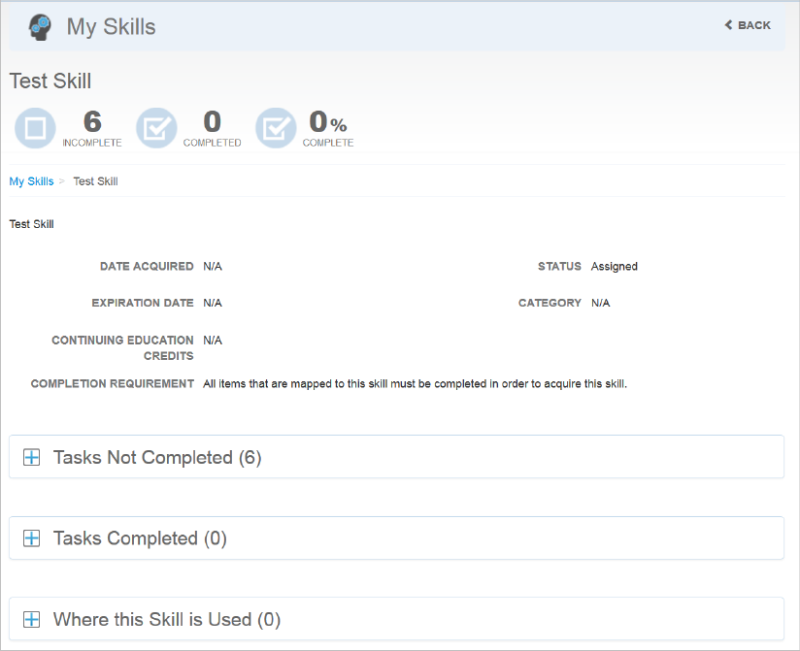
Users can see a list of related Items such as completed and incomplete tasks, and they can get details about where a particular Skill is used within your organization (Certification Tracks, Job Profiles, and Competencies).
The items on the details page are customizable during Widget setup.

Copyright © 2010-2018, Oracle and/or its affiliates. All rights reserved.
 Related Topics