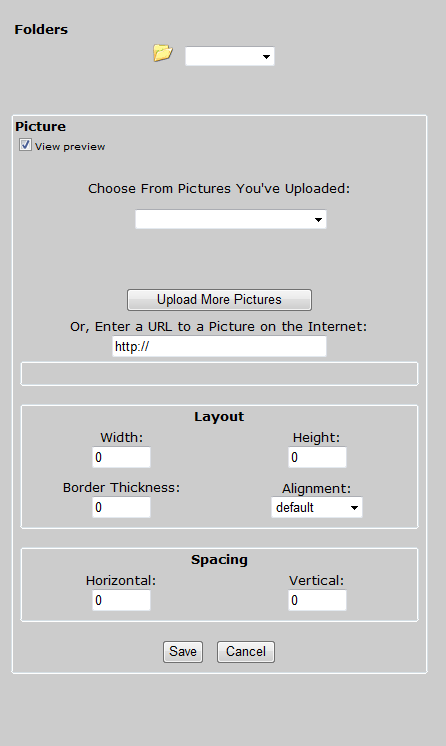
This topic refers to functionality on the classic WYSIWYG Editor, which looks like the illustration below.
In Release 20D, all customer environments will be migrated from the existing Classic WYSIWIG editor (Cute Editor) to our new editor experience (TinyMCE). If you would like to take advantage of the more secure and robust TinyMCE editor features by migrating before Release 20D, you can submit a service request through My Oracle Support to ask for early migration. See New WYSIWYG Editor for details. |
You can add images to WYSIWYG Courses in several ways. Typically, you will add files that you previously uploaded to Resource Manager. If there are files you want to use and you have not already uploaded them to Resource Manager, you can do so while adding them to your Course. Another way you can add images to your Course is to point to their locations on the Internet. See the following sections for instructions on each of these methods.
If you have already uploaded the images you want to use in your Course to Resource Manager, follow these steps.
In the Classic Courses WYSIWYG Editor
Images must first be uploaded to Resource Manger before you can add them to a Course. If you have not already uploaded the file you want to use, you can do it now from this window. See Uploading Images from Your Computer below for instructions. |
If Height and Width are not set, the image will be inserted at its actual size. Once inserted, an image can be resized in the editor by clicking on it and using the surrounding handles to adjust the shape. |
If you have not already uploaded the file you want to the Resource Manager, you do not need to navigate away from this window to do so. You can upload additional images the Resource Manager directly from this window.
In the Classic Courses WYSIWYG Editor
You can upload images from the Internet to be used in your Course. In the WYSIWYG Course Editor:
Copyright © 2010-2018, Oracle and/or its affiliates. All rights reserved.