 on the Advanced Learning
menu to expand it.
 .
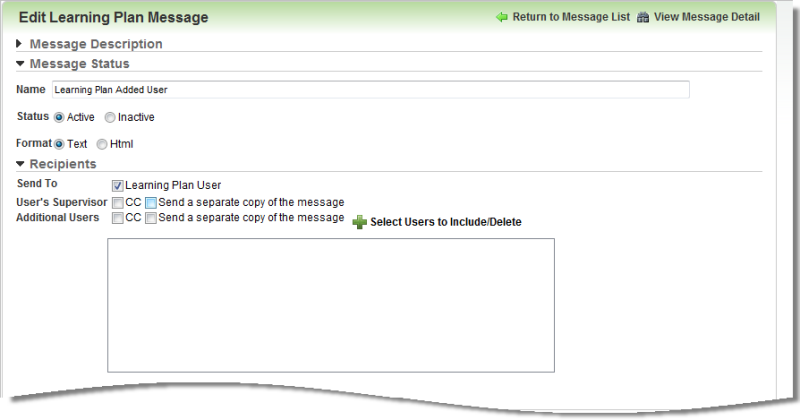
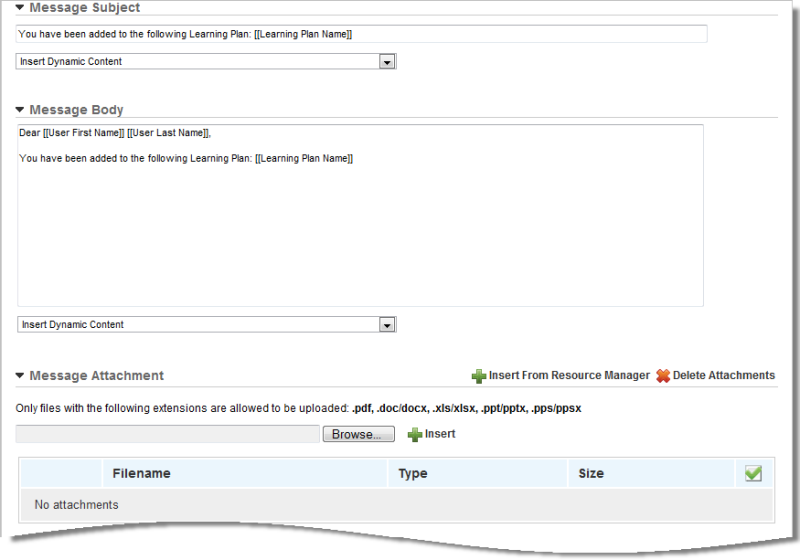
.There may be certain situations where you need to customize a Learning Plan Communication Message's wording or settings for an individual Learning Plan only. Perhaps you want to prevent some Communication Messages from being sent at all for particular Learning Plans. LearnCenter enables you to customize Communication Message body text and layout, and activate or deactivate Communication Messages on a per-Learning Plan basis. Your customizations at the Learning Plan level override the generic settings at the LearnCenter level for the individual Learning Plan only. On the ControlPanel:
 on the Advanced Learning
menu to expand it.
 .
.

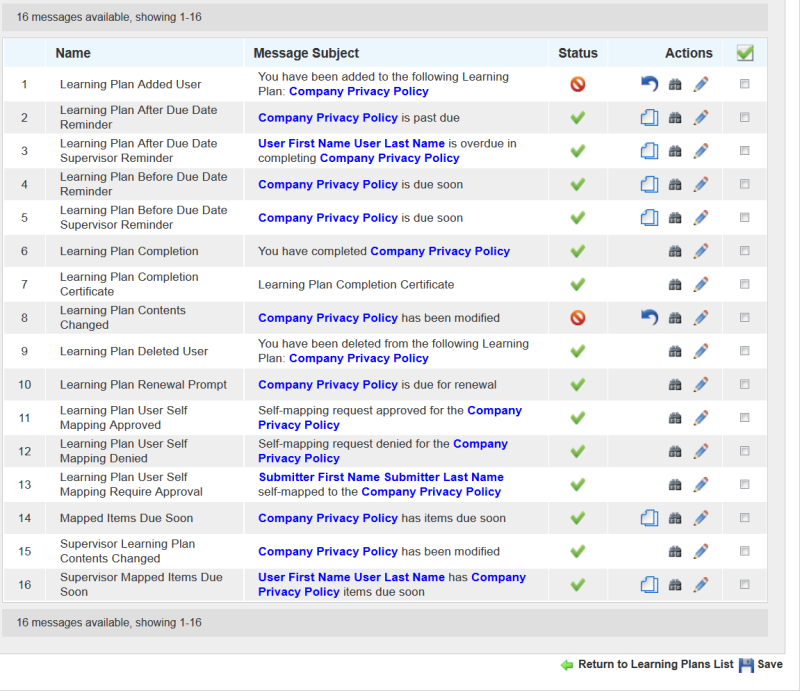
All Communication Messages available in the LearnCenter are listed on the page. If you do not see all available messages when you first display the page, use the Status filter to display Active, Inactive, or Both message types. A  displays in the Status column to indicate a message is Active and in use. A
  displays in the Status column for any message that was made inactive for either the entire LearnCenter or this specific Learning Plan only.
Depending on how action icons display for your LearnCenter, you will also notice additional icons on the page (either in an Action column or when you rest your pointer on a Communication Message). A  displays next to any message that was modified from the default LearnCenter settings. If this icon isn't present, the message hasn't been modified from the generic LearnCenter version.
In the example above, the Learning Plan After Due Date Reminder message has been modified for this Learning Plan only. A  displays next to the message to indicate that the text or settings for this message differs from the default LearnCenter setting for this message.
You also have the ability to copy Learning Plan Communication Messages.
 .
.

|
|
See Changing Formats for Communication Messages for additional information about formatting messages as text or HTML. |

|
|
See Communication Message Automation (Triggers) for instructions on setting up Triggers. |

Copyright © 2010-2018, Oracle and/or its affiliates. All rights reserved.