
You can use Group Display Filters to display or hide areas of the page for certain page visitors. This is done based on User Group memberships. For example, you may want to create a custom welcome page for each department in your organization. For the sales team you might want to display “Welcome Sales Team Member! Sign up for the classes below to become more knowledgeable in selling our products.” You might want to display the following to Customer Support: “Welcome Customer Support Team! Sign up for the classes below to learn techniques to providing our customers with the best care.”
 and use the drop-down list to locate and select the page that contains the area you want. The page opens.
 to place the page in Edit Mode.
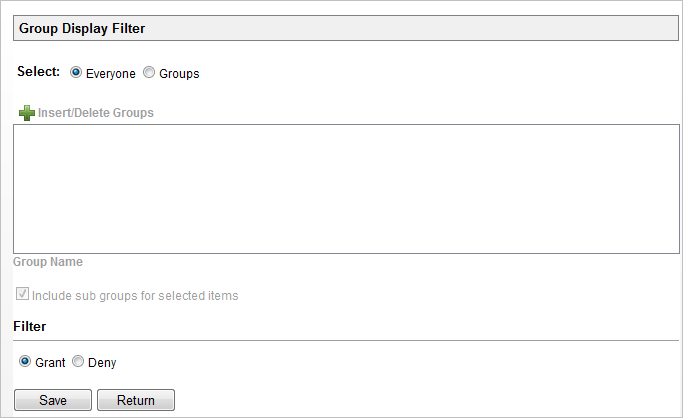
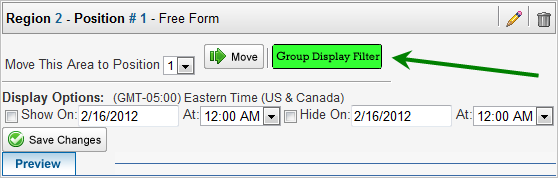
When you modify the group display filter for an area, the Group Display Filter button for that area displays in green. Buttons that are not green still use the default settings.

Copyright © 2010-2018, Oracle and/or its affiliates. All rights reserved.
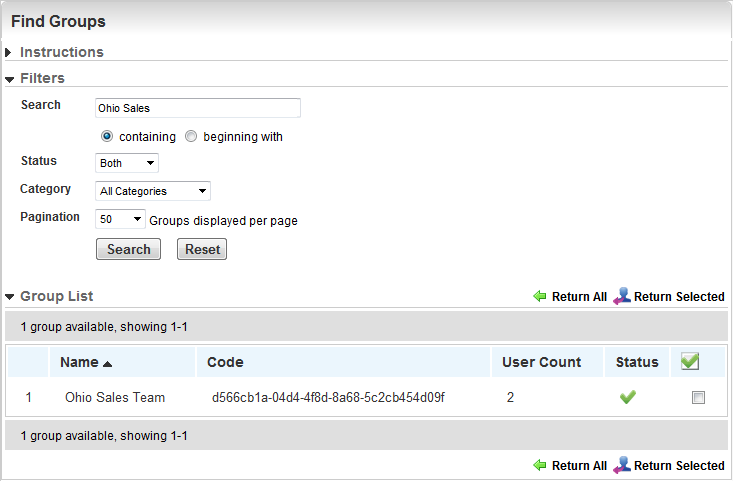
 Search for and select the Groups you want.
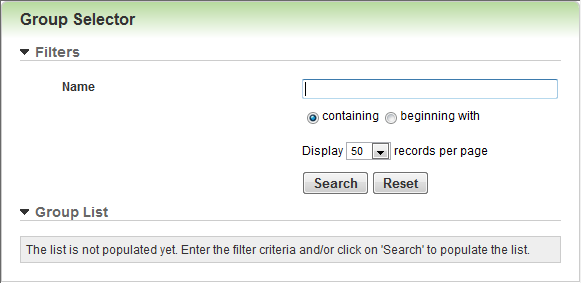
 Related Topics